Custom Blocks (MyBlocks) in MakeCode
Our team is potentially participating in the pilot to use different programming languages this fall (see the MakeCode Pilot page). However, MakeCode has not nearly as many tutorials as are available for Mindstorms EV3 Native software, so we have looked at ways to replicate some of the familiar tasks that one may do using EV3.
In Ev3, MyBlocks are a way to reuse code in different contexts, which makes for more compact and easily understood programs. In MakeCode, you can write JavaScript functions to allow for reusable code instead. With special text comments, you can configure custom, reusable blocks that are a slightly more flexible than those found in EV3. (More on the differences below).
Move Centimeters in EV3
At EV3Lessons.com, the Seshan brothers have written an excellent tutorial for a simple MyBlock that moves the robot a given distance in centimeters. Using this MyBlock, you can measure the conversion from centimeters to rotations one time, enter it into the Myblock, and then re-use the block every time you want to move the robot.
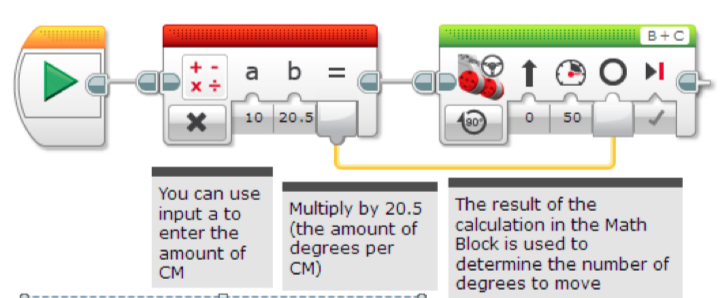
The EV3 code is doing two things:
-
A Math block multiplies the distance (in CM) by a fixed, precalculated ratio to get the degrees that the large motors should rotate to achieve that distance. In the example, the ratio is 20.5 degrees for each centimeter.
-
The number of rotations is fed into a Move Steering block to propel the motor forward.
-
Both blocks are packaged as a single Myblock which can be invoked repeatedely.
Move centimeters in MakeCode
To do this in MakeCode, we will first make a program that moves centimeters manually. We can then create a custom block to allow it repeatedely.
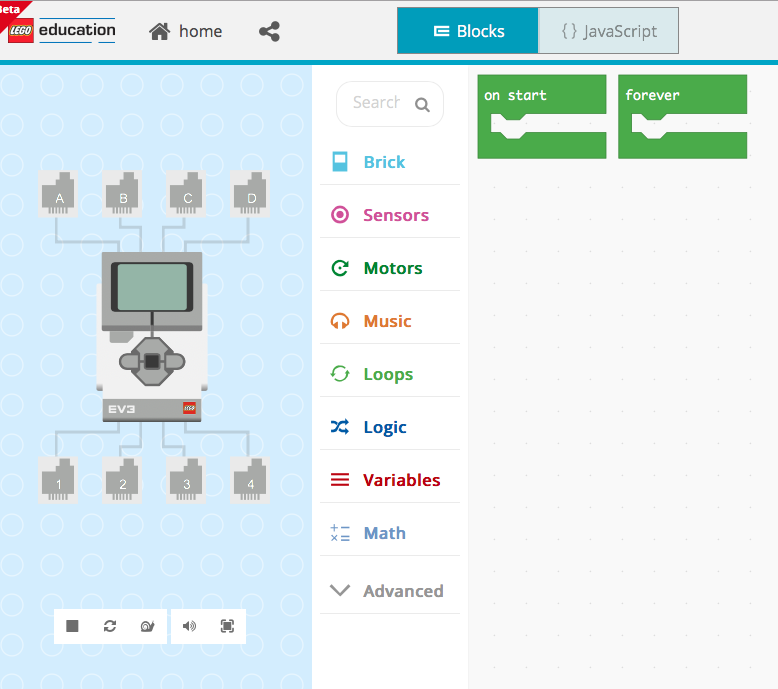
To start, I’ll create a New Project which gives the basic New Project screen:
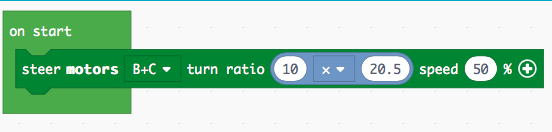
I’ll create a program that moves the motor for 10 centimeters, using the similar multiplication block that we saw above:
When I test it, I see that the robot moves 10 cm. Yes!
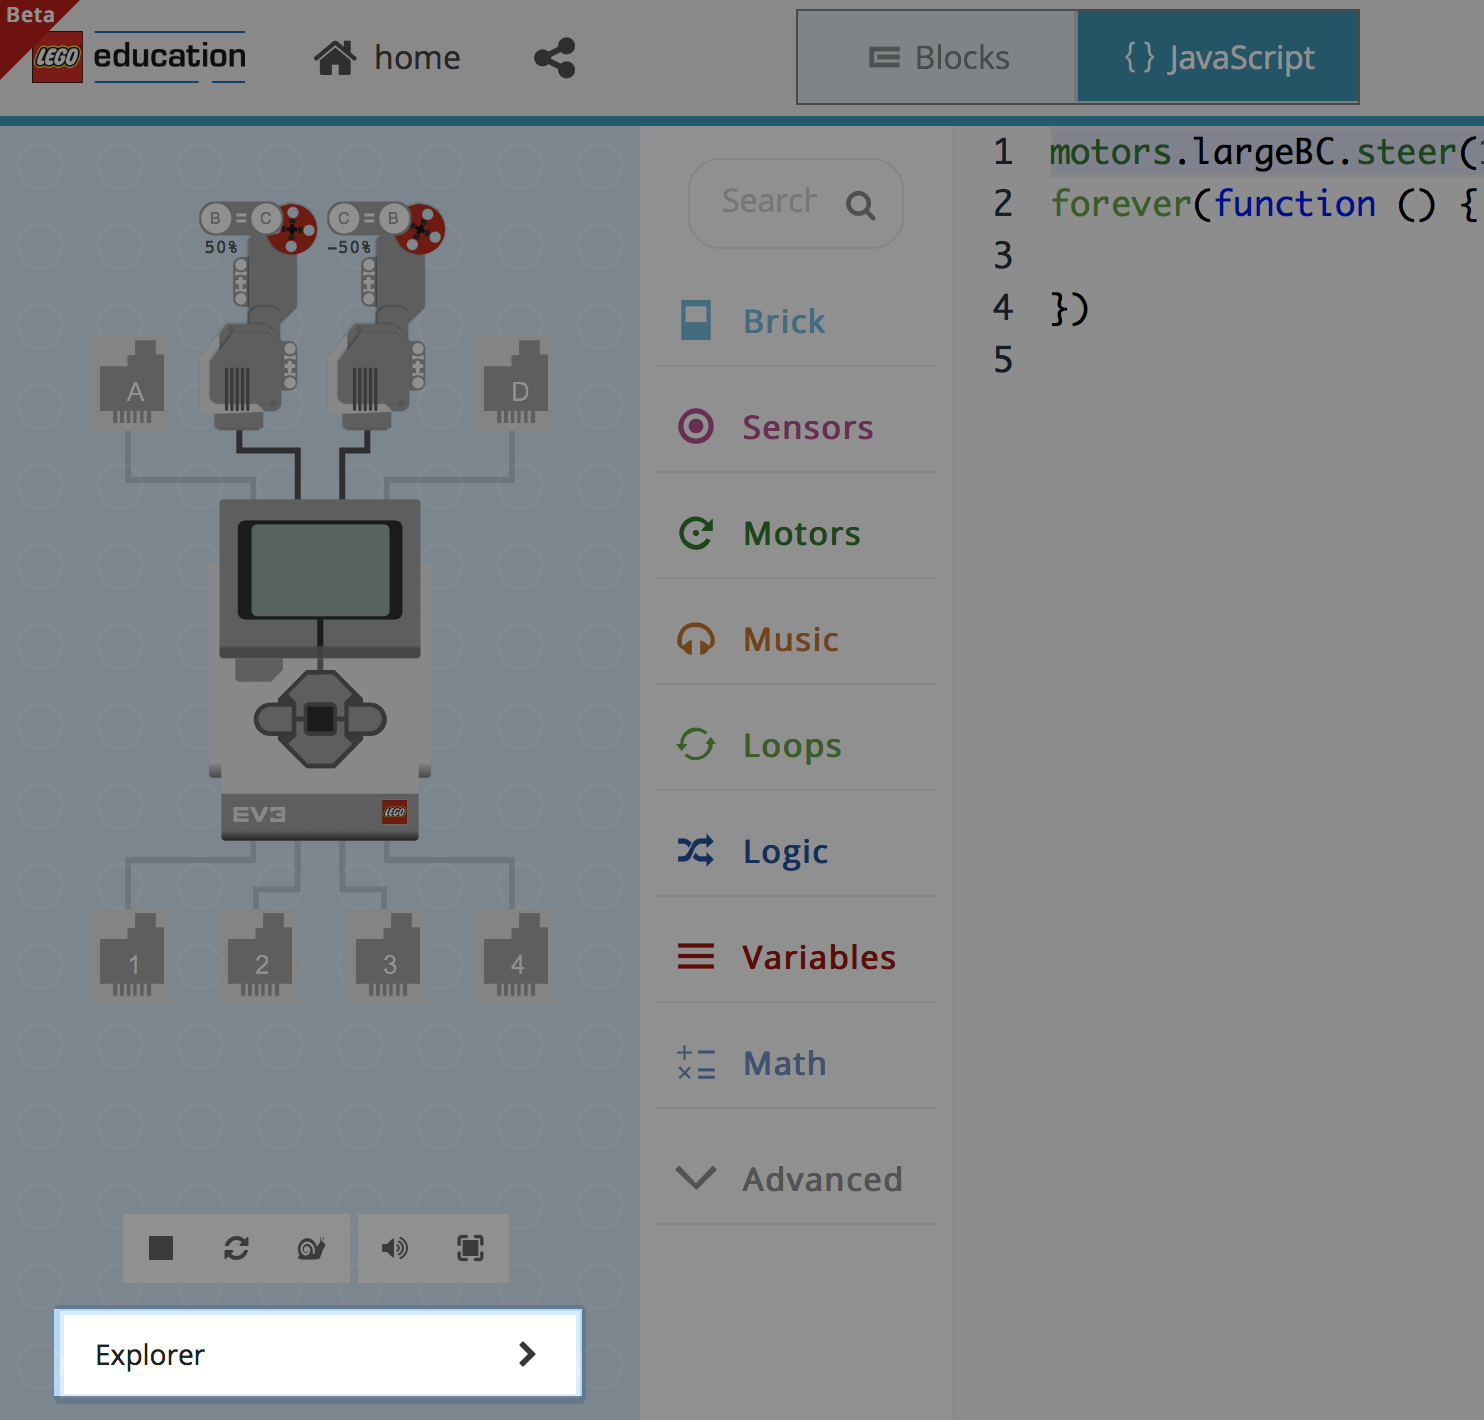
Let’s click the “JavaScript” button to see the equivalent code for the blocks we created:
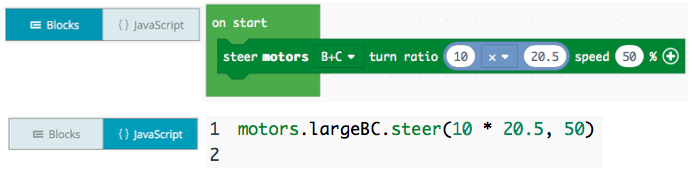
The blocks and code do the same thing: multiple 10 x 20.5, and then tell the motors to steer that number of rotations.
So let’s take that same thing and create a custom block.
Custom blocks in MakeCode
MakeCode provides for the ability to create custom blocks using JavaScript functions. The biggest drawback is that it does require a little bit of text JavaScript code in order to create a custom block. (However, once created a custom block can be used exclusively through drag-n-drop).
MakeCode has documentation for this here.
First, click on JavaScript mode, and then the Explorer tab on the bottom left of the side panel:
Then, select the “+” next to the Explorer.
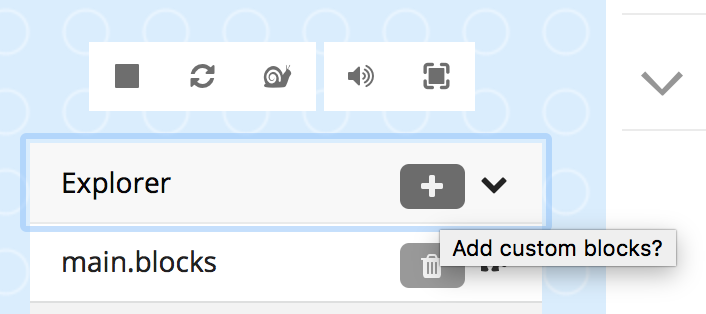
It asks if you want to create custom blocks - click “Go Ahead!”
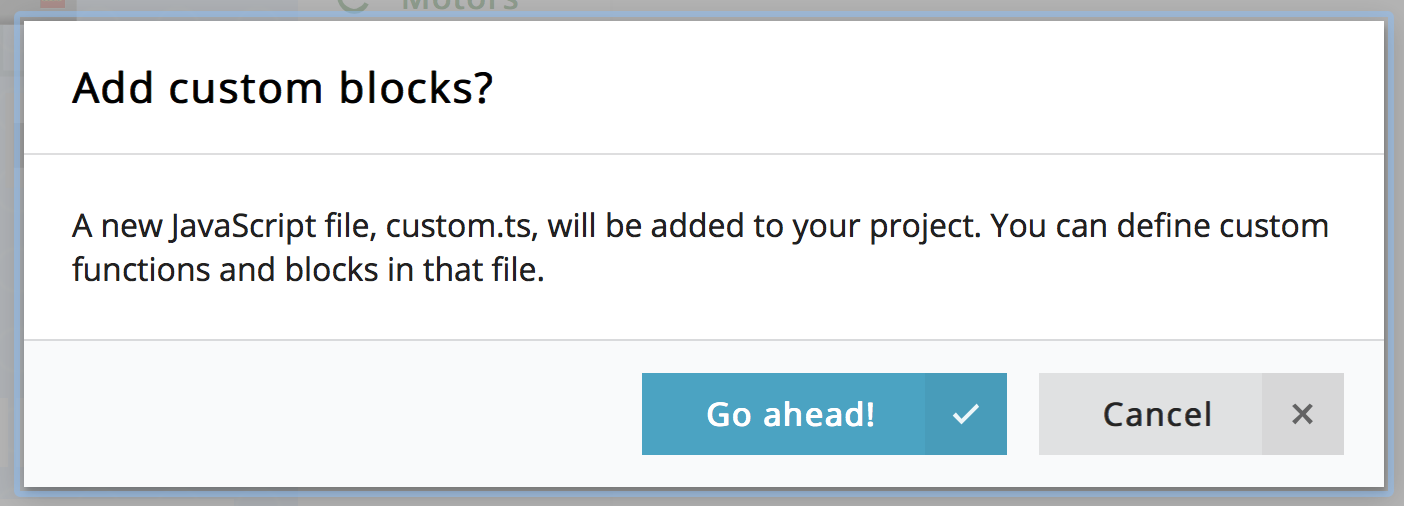
Ok, now this is the most confusing part. When you click “Go Ahead”, MakeCode creates a new file called custom.ts in your project. It’s filled in with a bunch of sample code that can be overwhelming. We’ll explain this file briefly and then show you how to add your own custom block.
The file defines a few custom blocks already, called “foo” and “fib”. You can delete the whole file and replace it with this text:
//% color="green" block="Custom Blocks"
namespace custom {
    //% blockId=move_cm
    //% block="move|cm %v"
    export function move_cm(distance_cm: number): void {
        motors.largeBC.steer(distance_cm * 20.5, 50)
    }
}
Let’s explain what’s going on here:
- First, we define the custom namespace. This means that all of our
new blocks will live in a category called “Custom Blocks” that
carries a green color. Note that we use a special comment tag
//%to tell the MakeCode engine about our new block.
//% color="green" block="Custom Blocks"
namespace custom {- Next, we define the actual block using special comments. This tells MakeCode to expect a block that we call “move_cm”. The user will see the word “move” and then the value of a single parameter, “cm”.
    //% blockId=move_cm
//% block="move|cm %v"- Third, we define the function itself. This is like the setup screen of the MyBlock in EV3. It says that the function is named “move_cm” and takes a single parameter called “distance_cm”.
export function move_cm(distance_cm: number): void {- Finally, the actual contents of the function tell the block what to. In this case, we pass in the distance_cm, multiple it by 20.5, and use it to direct motors B+C to move forward at 50% power.
motors.largeBC.steer(distance_cm * 20.5, 50)Put it all together again:
//% color="green" block="Custom Blocks"
namespace custom {
//% blockId=move_cm
//% block="move|cm %v"
export function move_cm(distance_cm: number): void {
motors.largeBC.steer(distance_cm * 20.5, 50)
}
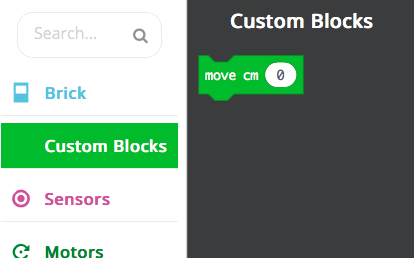
}After saving, we click on the main.blocks link on the
sidebar:
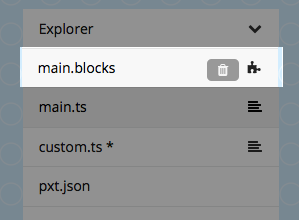
That shows us the Custom Blocks sidebar and our new block is there!
We can drag it into our program to use it just as any other block:

Finally! Hopefully that was helpful in learning how to create the equivalent of a MyBlock in MakeCode.